Seaside Birthday
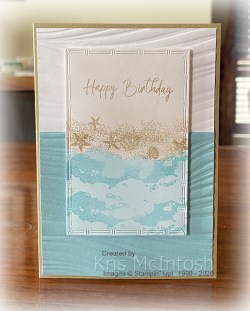
Today I have another card to share with you created using the Rolling Waves Bundle. For this card I attached Balmy Blue card across the bottom of a Basic White panel. The whole panel is embossed using the Soft Waves 3D Embossing Folder. I attached the embossed panel to scored and folded Crumb Cake card. I use the line die from the Rolling Waves Dies to cut through a piece of Balmy Blue card. I used the outside section of the card panel to add Balmy Blue ink across the bottom of Basic White card. I used the other piece of Balmy Blue card to cover the Balmy Blue ink and used a Blending Brush to add Crumb Cake card across the top of the panel.
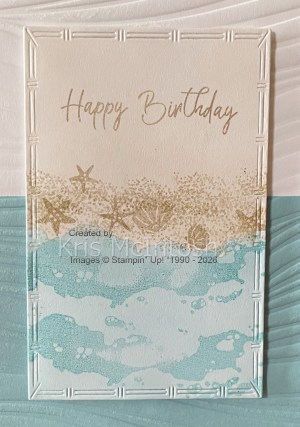
I stamped one of the sea images from the Rolling Waves stamp set three times across the blended Balmy Blue section using Balmy Blue ink. I stamped the dotted image from the Rolling Waves stamp set across the bottom of the Crumb Cake section using Crumb Cake ink. I stamped the three star fish image and the double shell images from the Rolling Waves stamp set onto the dotted images, also using Crumb Cake ink.
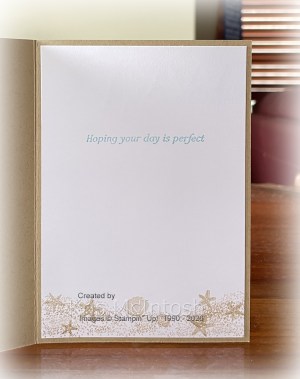
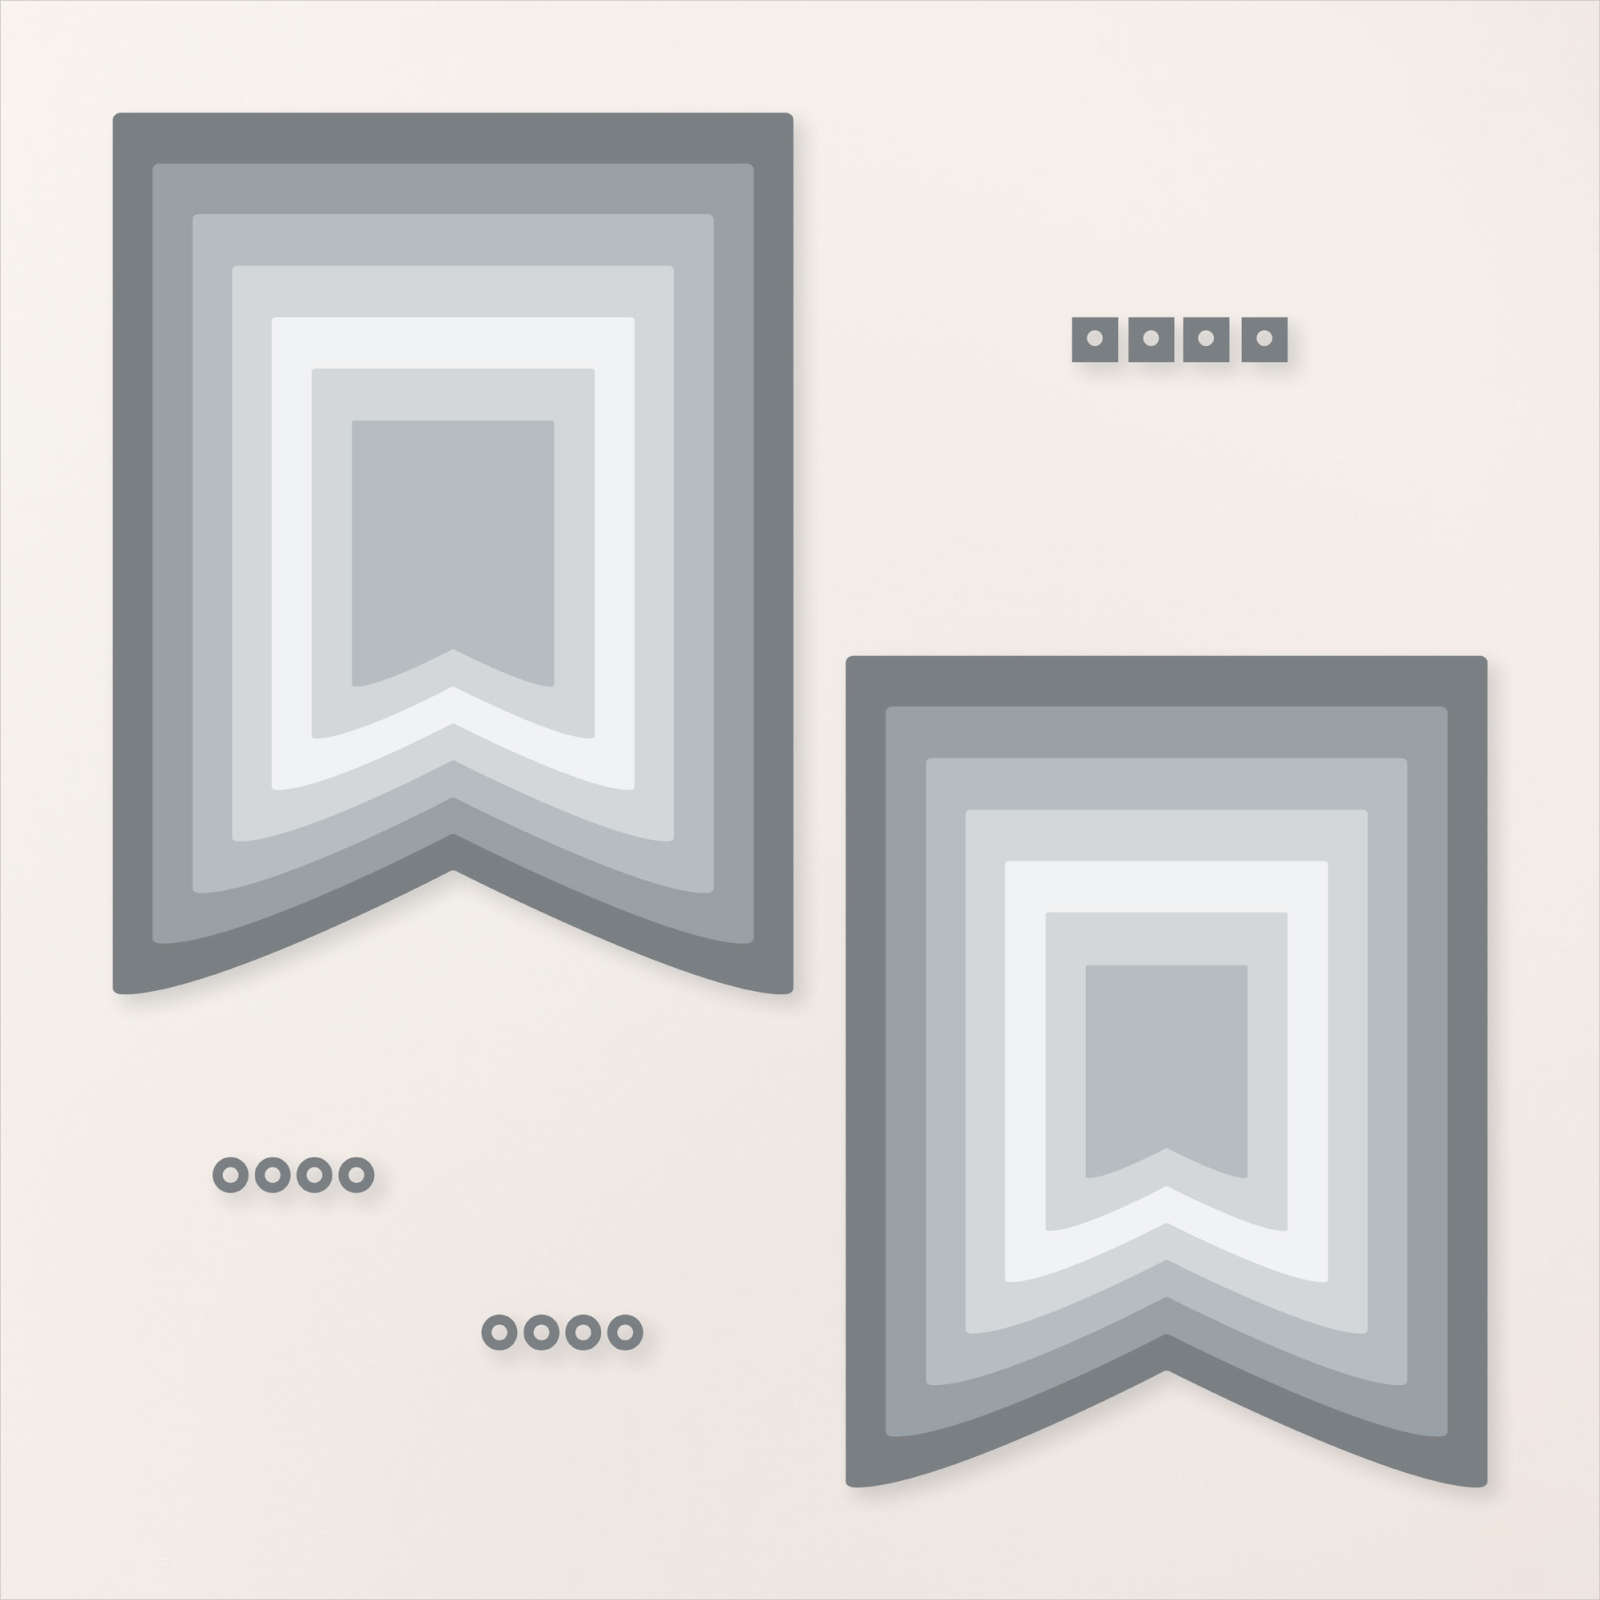
I stamped “happy birthday” from the Rolling Waves stamp set onto the Crumb Cake section using Crumb Cake ink. I cut out the panel using one of the Textured Notes Dies (last chance) before attaching the panel to the card front using dimensionals. To decorate the inside of the card, I stamped the dotted image from the Rolling Waves stamp set across the bottom of a Basic White panel using Crumb Cake ink. I stamped the three star fish image and the double shell image from the Rolling Waves stamp set onto the dotted images also using Crumb Cake ink. I stamped the greeting from the Rolling Waves stamp set onto the Basic White panel using Balmy Blue ink. I am having so much fun using this stamp set and just know that I am going to use it a lot!
Bye for now,
Kris
Product Used:
You can view the Rolling Waves Bundle here in my online store.


Happy Anniversary
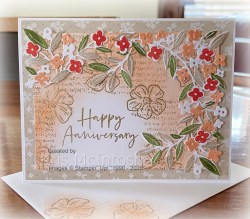
I recently signed up for the 2026 Virtual Card Making Retreat which was held at the end of January. Once you purchase this Retreat and join the Facebook Group you have unlimited access to all of the videos and information supplied. I decided to change the greeting on Card 2 from the retreat to create an Anniversary card for my youngest daughter.
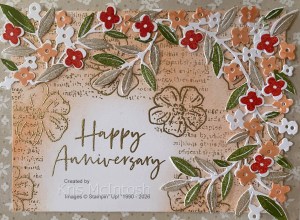
I followed the instructions for the video just swapping out the greeting for one from the Layers of Beauty Stamp set. This video showed us how to use the large framed die in another way and to add lots of texture as well. There is also some gold embossing and sponging to create a gorgeous background.
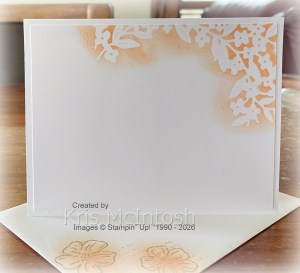
For the inside of the card we also added some texture by using the large framed die as a stencil. I am so glad that I participated in this retreat, I learned so much even though I didn’t get to craft along when the videos went live. You can still purchase this retreat and access all the videos.
Bye for now,
Kris
Product Used:
You can see the 2026 Virtual Card Retreat here in my online store.


Cardwell
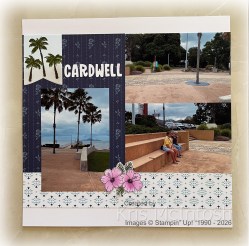
Today I am sharing a page I created using the True Blue Florals Designer Series Paper which was the Product of the Month for January 2026. I cut two strips of the same paper to go across the bottom of each White Willow 12″ x 12″ page and two pieces of the same paper to go on the outside of each page. All of my photos are adhered directly to the page – I didn’t add any card mats. The title is cut from Basic White card using the Mini Alphabet Dies. I used a Blending Brush to add Crumb Cake to the lower part of a piece of Basic White card and another Blending Brush to add Balmy Blue ink to the top of the Basic White card. I inked the palm tree images from the Boardwalk Fun stamp set using Early Espresso and Mossy Meadow ink.
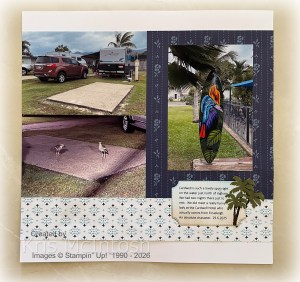
I used one of the Party Banner Dies to cut out the images and attached them to upper left hand corner of the left hand page. I stamped the hibiscus flowers from the Beach Time stamp set onto scrap Basic White paper twice using Memento Tuxedo Black ink. I used a Blending Brush to add Petunia Pop ink to the flowers before cutting them out. I stamped the leaf image from the Beach Time stamp set three times onto scrap Basic White card using Mossy meadow ink and cut them out. I layered the flowers and leaves onto the bottom of the left hand page. I printed my journaling onto Basic White card and cut it out using one of the Branching Out Dies.
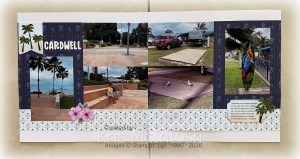
I used aBlending Brush to add Crumb Cake ink across the bottom of the journaling panel. I used another Blending Brush to add Balmy Blue ink across the top of the journaling panel. I cut three palm trees from Basic White card using the Boardwalk Fun Dies. I coloured the trunks of the die cuts by tapping Early Espresso ink onto them. I coloured the leaves of the die cuts using the Dark Mossy Meadow Stampin’ Blend. I attached two of the Palm Trees onto the right hand side of the journaling panel and one to the back of the journaling panel before attaching the whole piece to the right hand page. I love how simple this page is with lots of photos to bring back lots of happy memories.
Bye for now,
Kris
Product Used:


Thinking of You
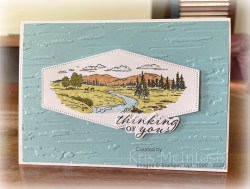
Today’s card features the Far Away Landscapes stamp set an Online Exclusive which was released on 3rd March. The stamp set contains three scenery images. I embossed Balmy Blue card using the Birch 3D Embossing Folder and attached it to scored and folded Thick Basic White card. I stamped one of the images from the Far Away Landscapes stamp set onto Basic White card using Memento Tuxedo Black ink.
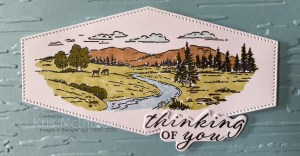
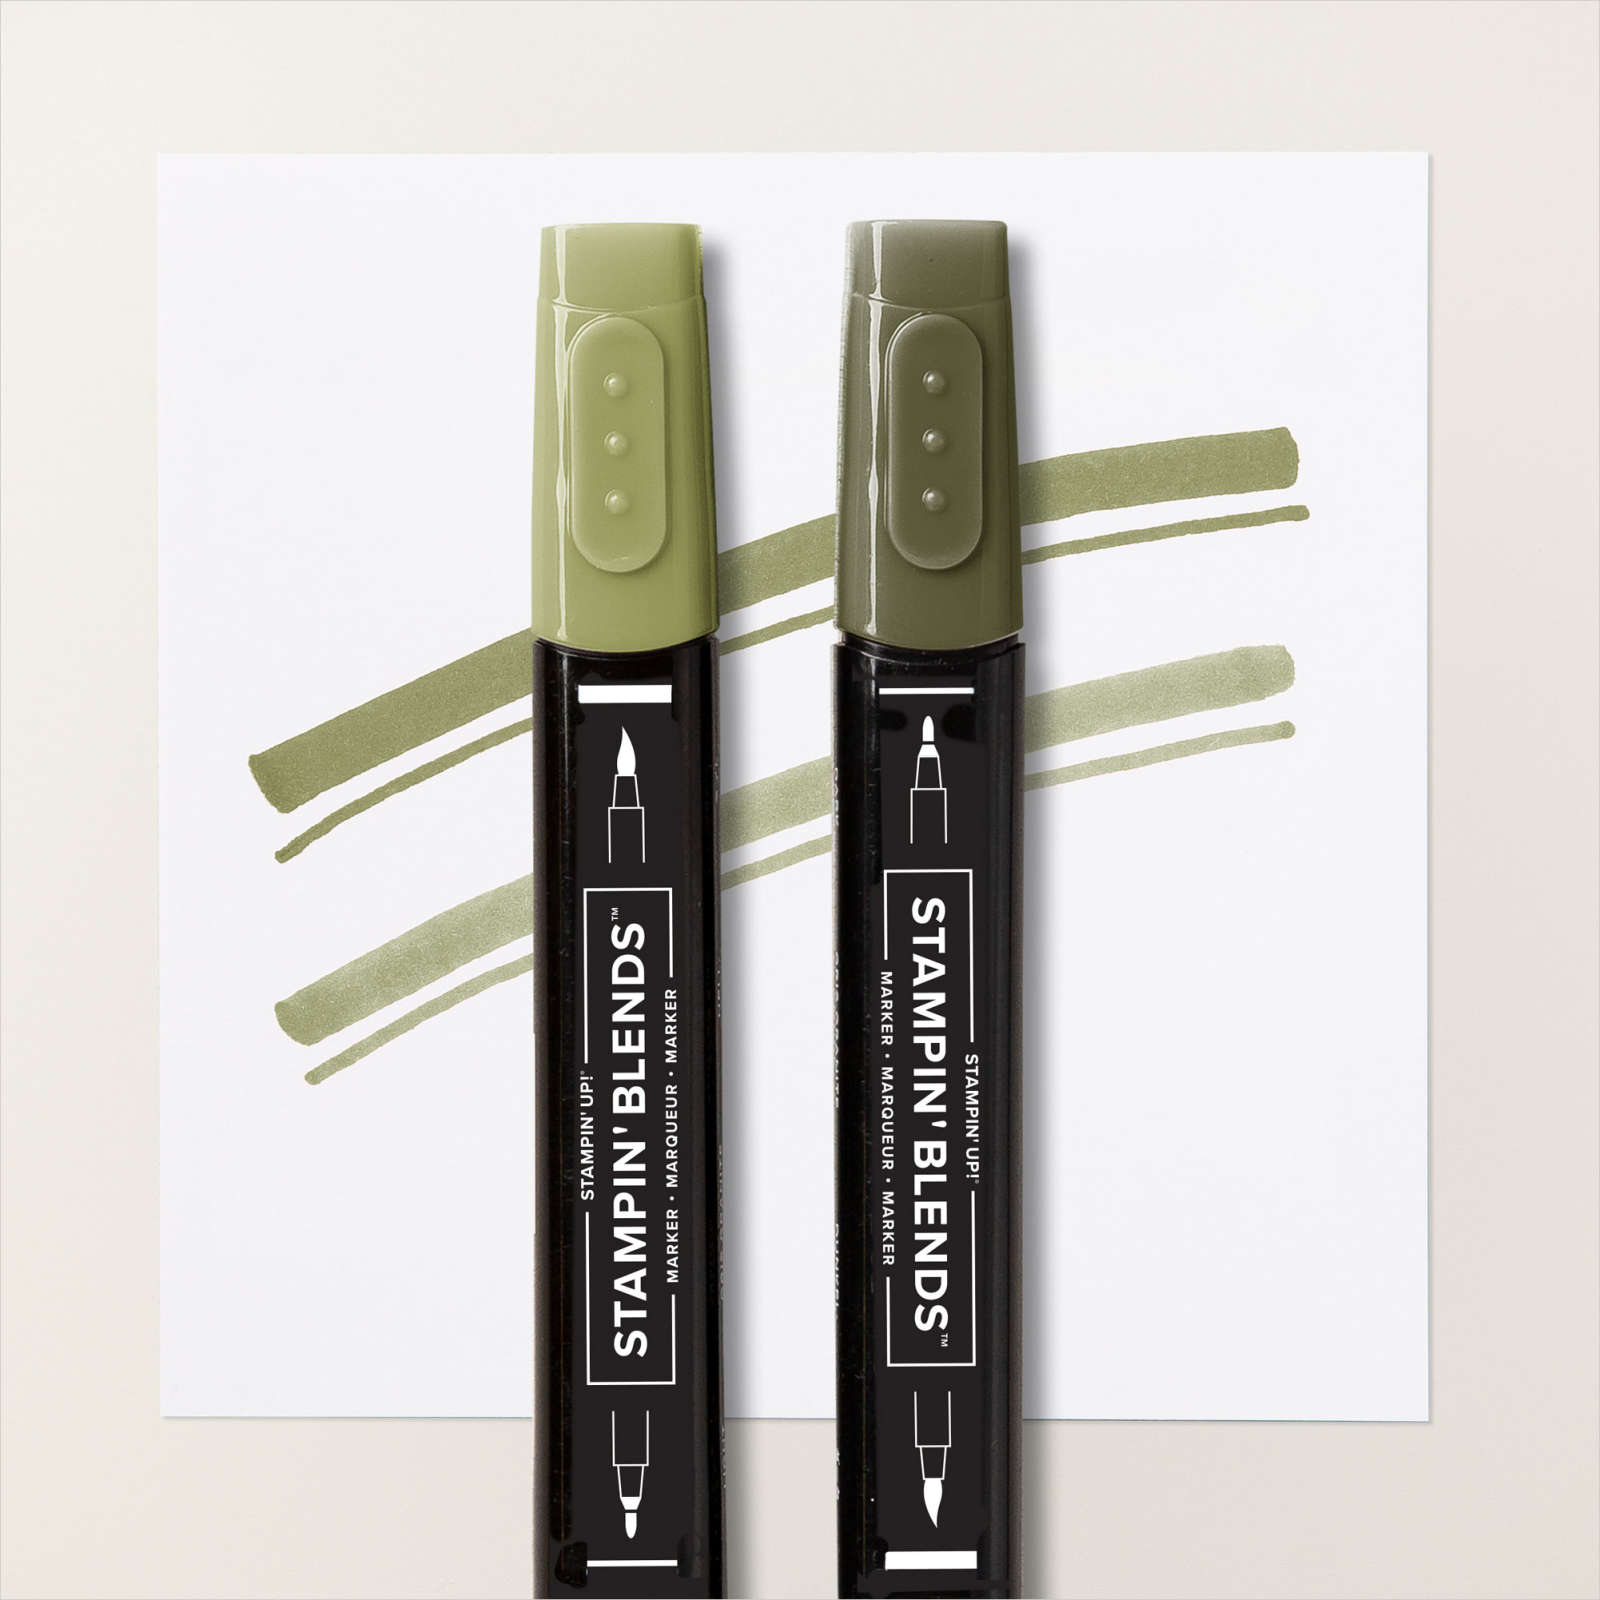
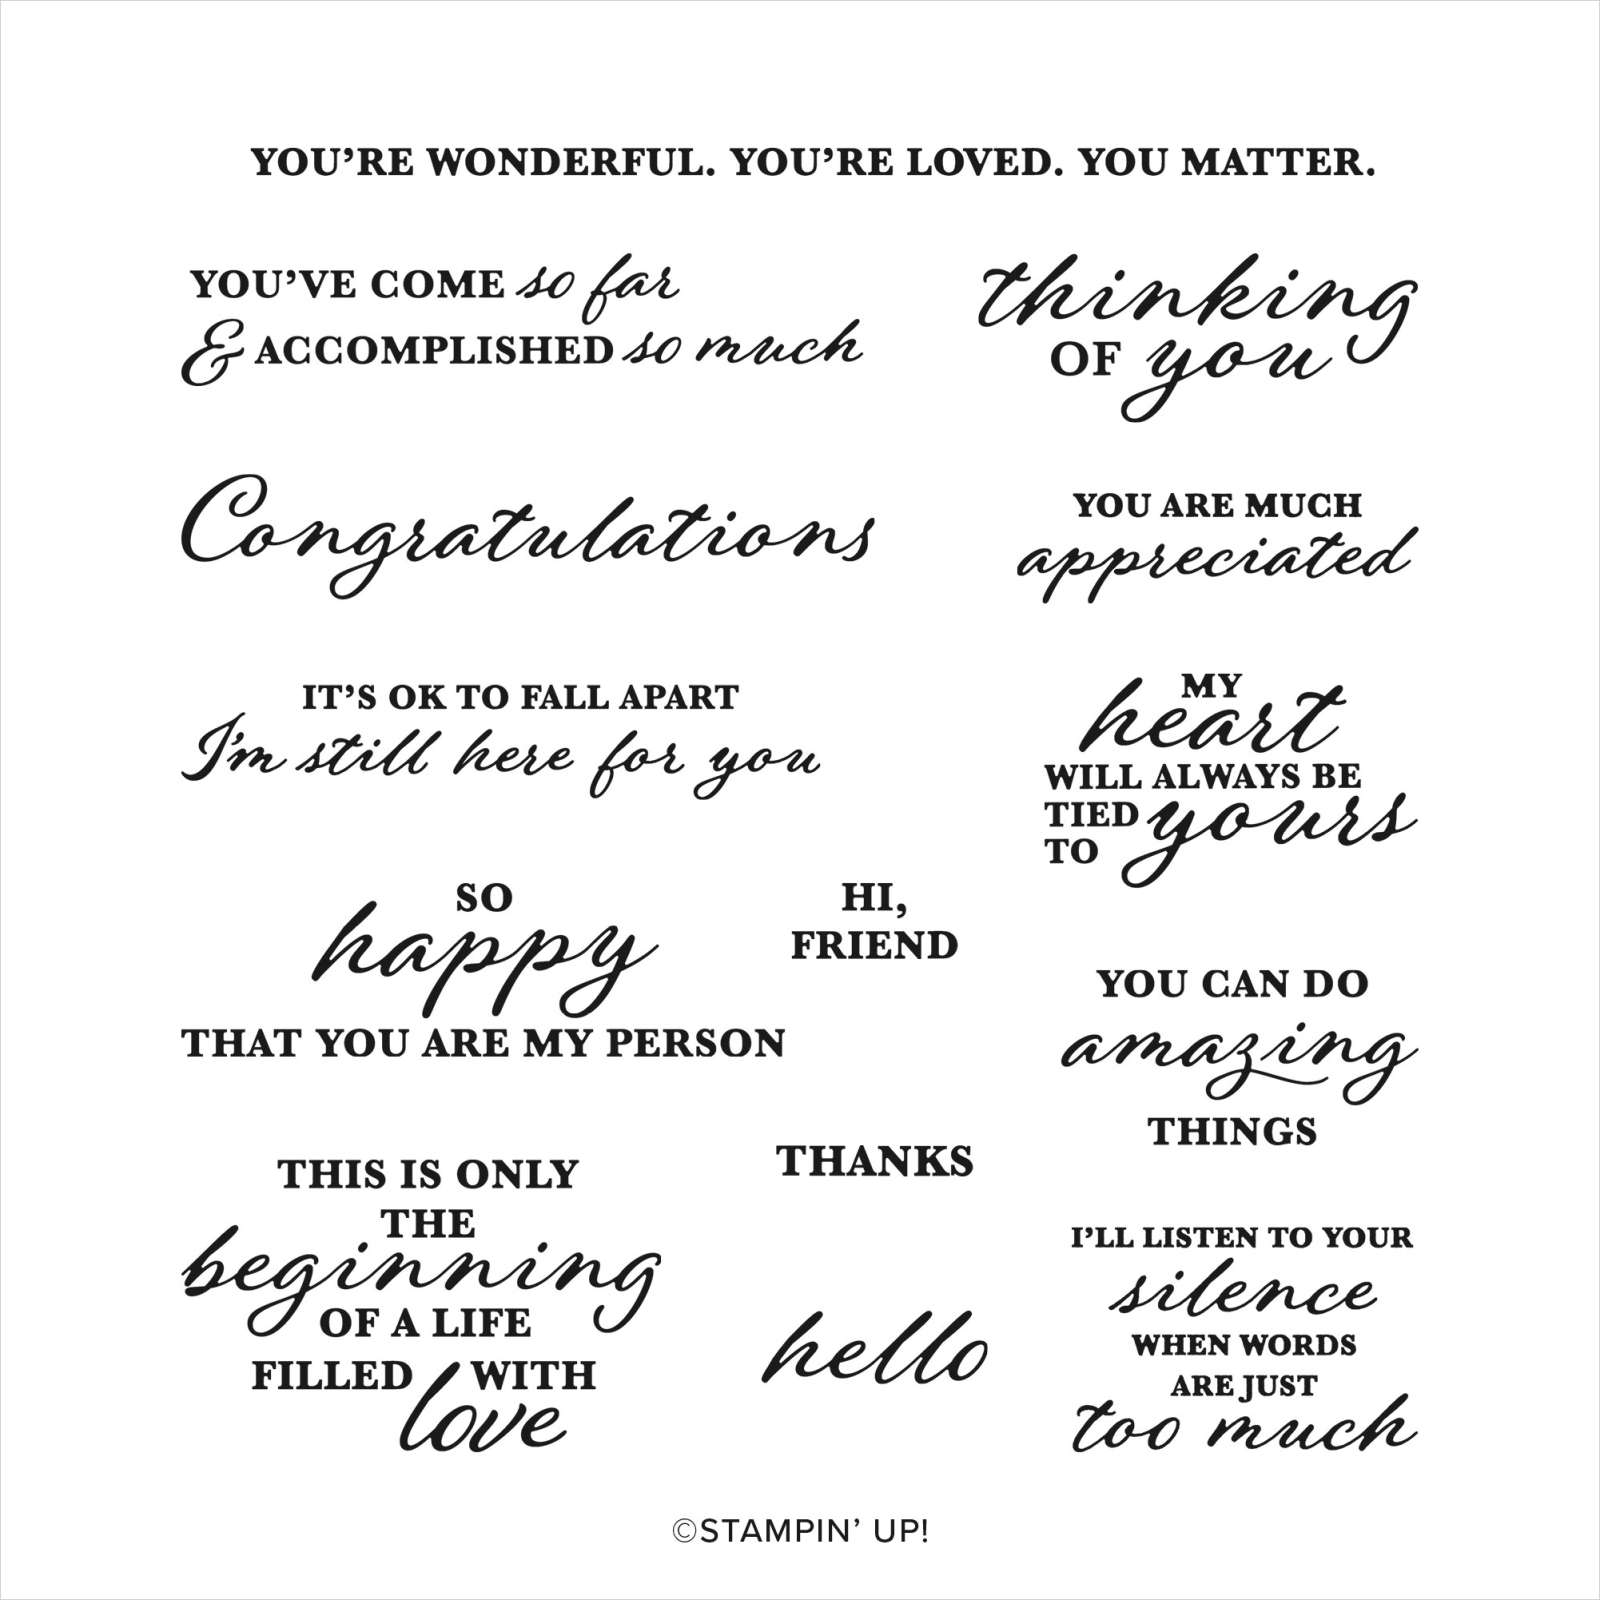
I coloured the image using Light Pool Party, Light Balmy Blue. SU500, Light & Dark Old Olive Stampin’ Blends. I cut out the image using one of the Nested Essential Dies. I attached the image panel to the card front using dimensionals. I stamped “thinking of you” from the Wonderful Thoughts stamp set onto Basic White card using Memento Tuxedo Black ink.
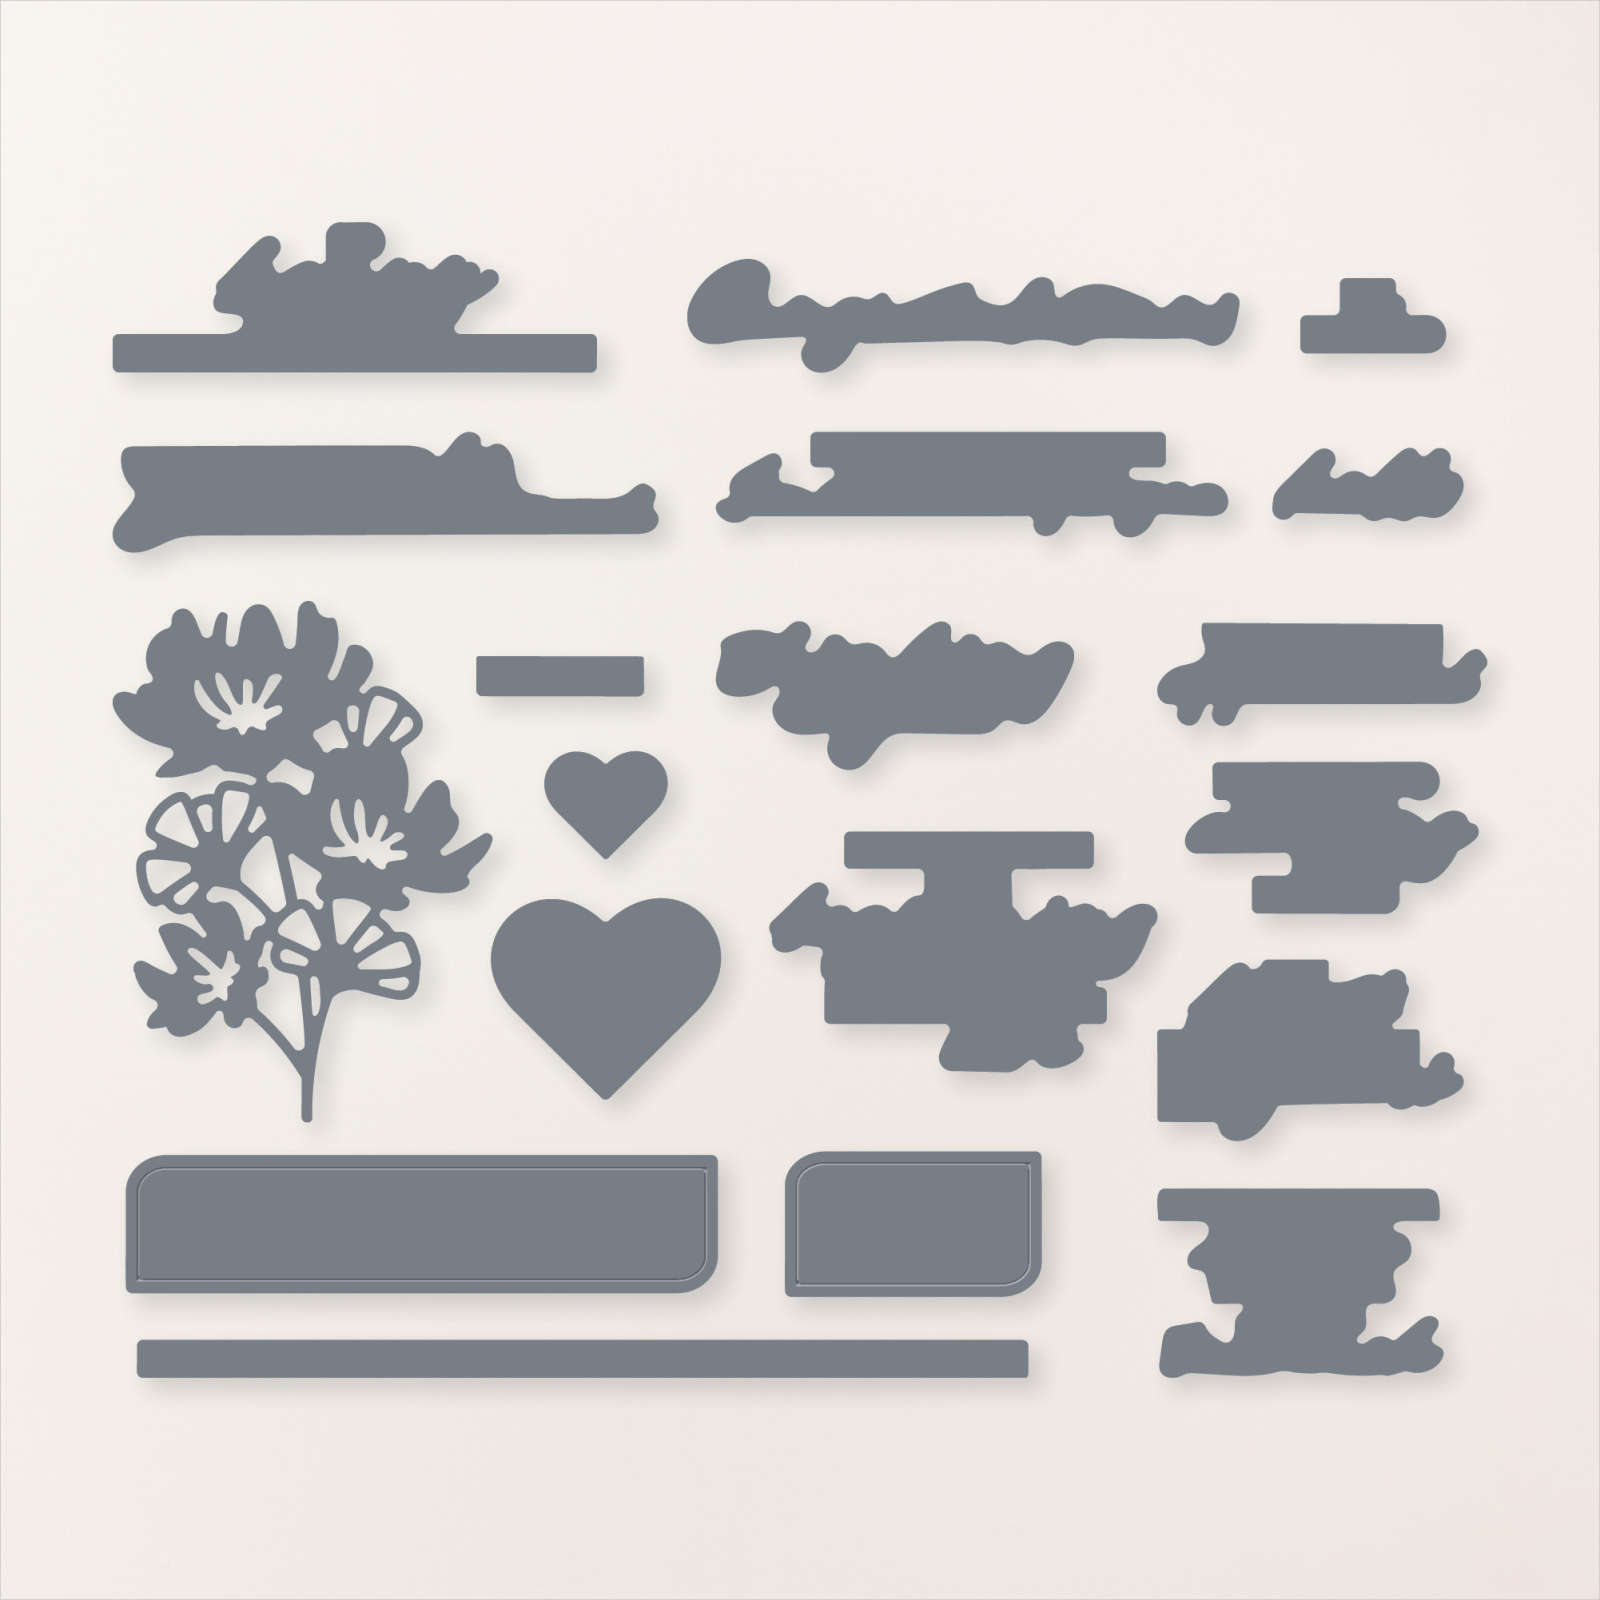
I cut out the greeting using the co-ordinating Wonderful Thoughts Die and attached the greeting to the card front using dimensionals where necessary. I didn’t add much to the inside of the card just a strip of Balmy Blue card embossed using the Birch 3D Embossing Folder across the bottom of the Basic White card. I really love how pretty the scenery looks and it really didn’t take much to colour the image. What do you think, do you think you would like to create with this image.
Bye for now,
Kris
Product Used:


Happy 18th
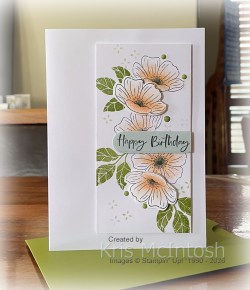
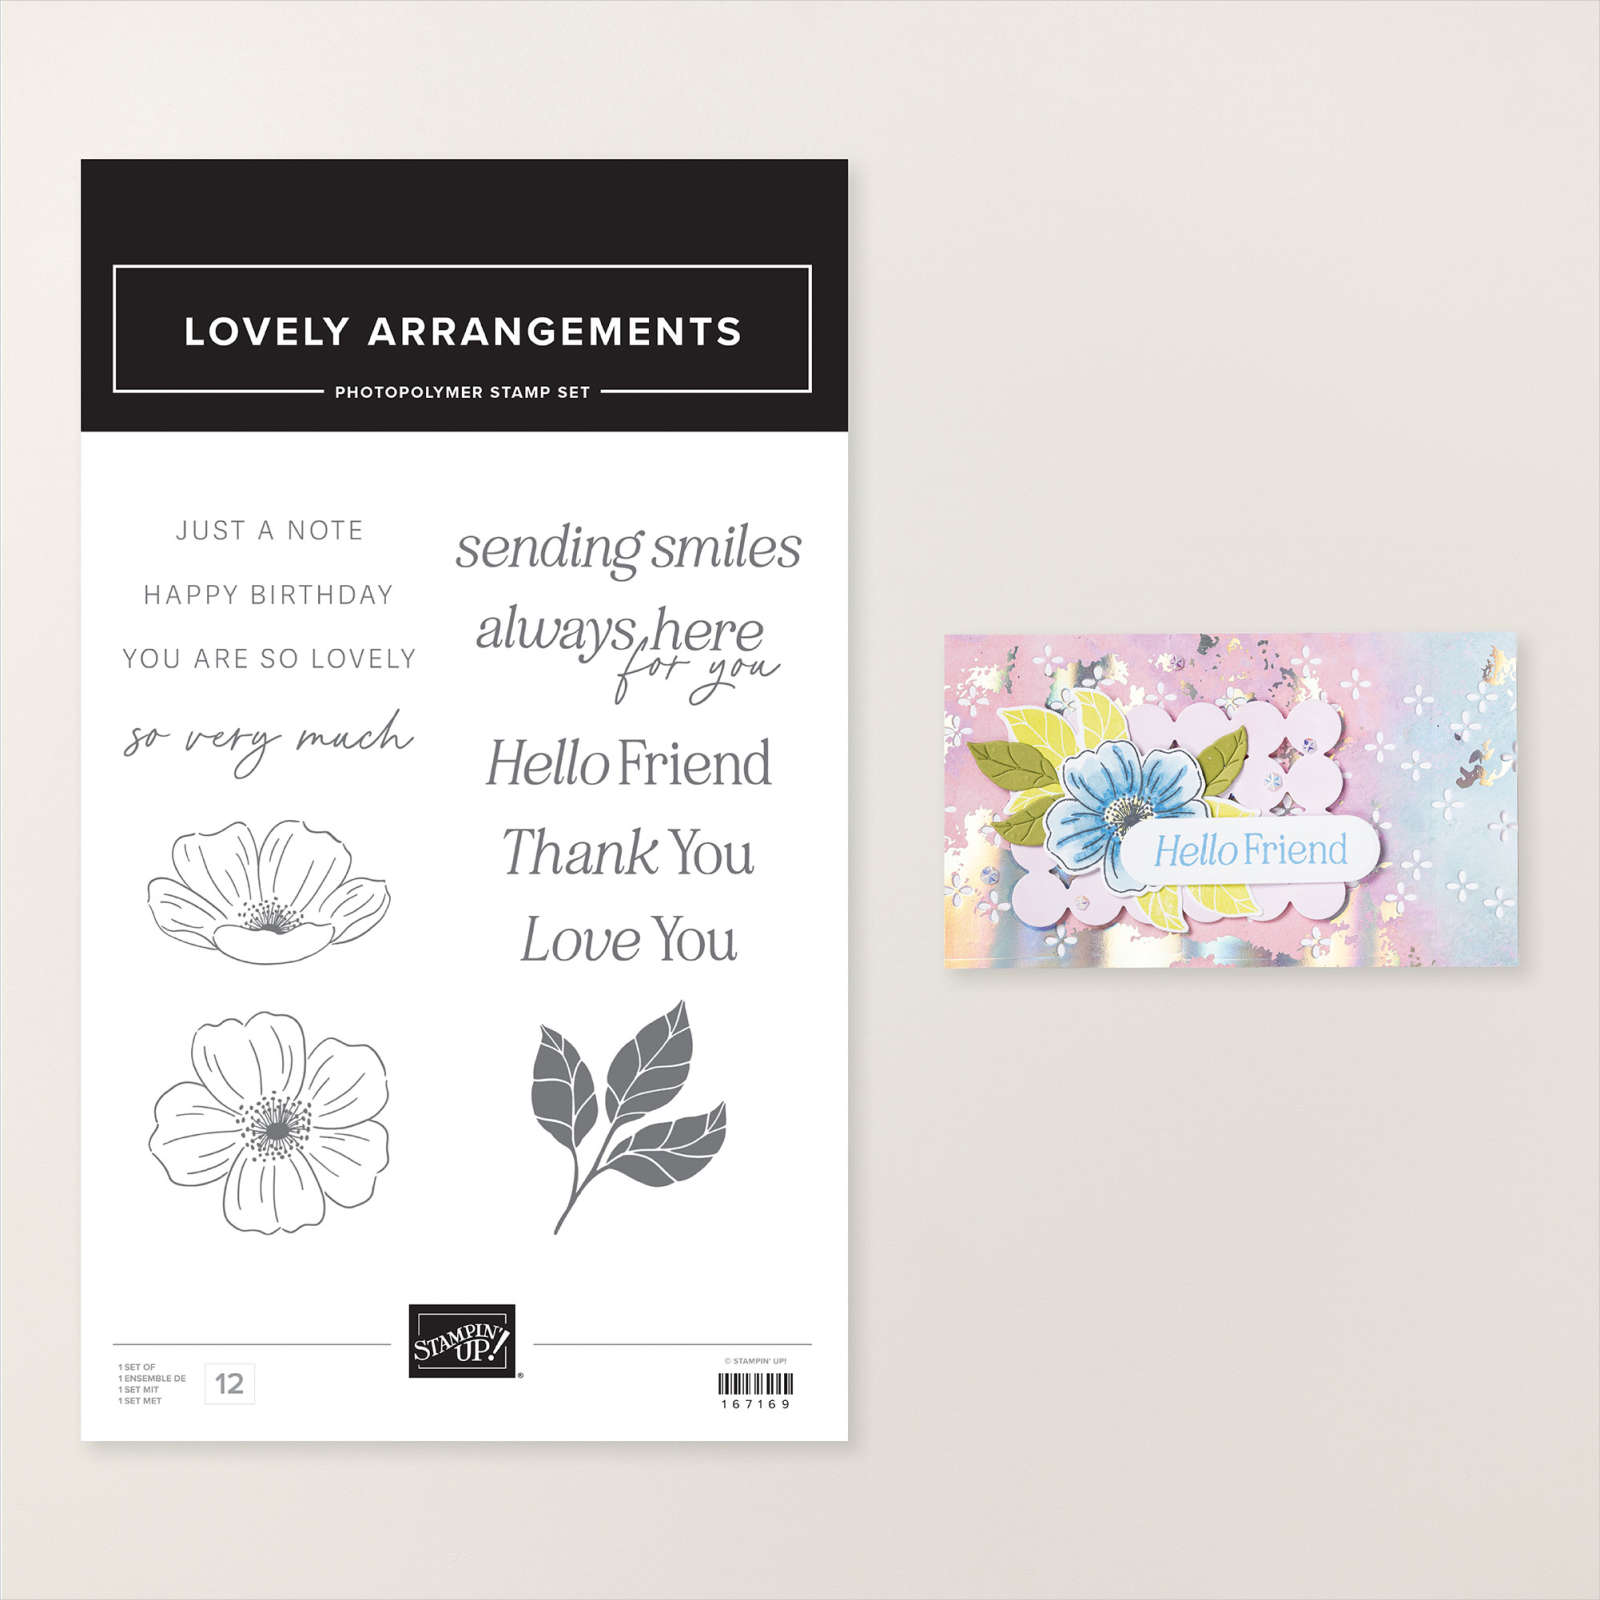
One of my granddaughters recently celebrated her 18th birthday and today I have the card I made for her to share with you. I recently attended an online Craft Class – Lovely Blossoms – with Stampin’ Up! The first card we created was a 5″ x 7″ card and envelope and I just knew it would be perfect for her. I followed the instructions from the class, adding Petal Pink ink to the flowers and stamping and die cutting the images from the Lovely Arrangments stamp set. I did of course change the greeting using “happy birthday” from the Charming Day stamp set (last chance).
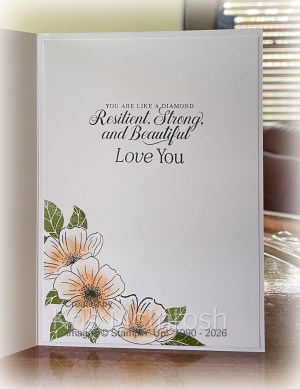
I decorated the inside of the card by adding some flowers and leaves following the same guidelines as the flowers on the front of the card. I did add a greeting from the retired Strong & Beautiful stamp set using Memento Tuxedo Black ink and “Love You” from the Lovely Arrangments stamp set also using Memento Tuxedo Black ink. I followed the instructions to create an envelope from Old Olive Two-Tone cardstock. The class was amazing and my granddaughter loved her birthday card.
Bye for now,
Kris
Product Used


A Perfect Day

My husband and I have been taking Mum our to lunch fairly regularly on a Friday. The page today shows off some photos from our recent lunch at Redcliffe RSL. It was a Perfect Day, sunny, not too hot and the view from the deck is just amazing. Mum does love to see the water. I cut a piece of Secret Sea and a piece of Cloud Cover 2025-2027 In Colour Designer Series Paper in half. I attached one piece of each colour paper to the top and the bottom of a White Willow 12″ x 12″ page. I stamped “a perfect” from the now retired Sale-A-Bration Documenting the Day stamp set onto Basic White card. I used one of the banner dies from Stylish Shapes Dies to cut out the greeting. I attached it to the top left hand corner of the page, trimming off the left hand edge. I cut “DAY” from Basic White card using the Party Alphabet Dies. I used a Blending Brush to add Secret Sea ink to the bottom of the letters before attaching them to the page. I stamped the rectangle frame image from the Addressed to You stamp set onto Basic White card using Secret Sea ink. I stamped the line image from the Addressed to You stamp set inside the frame before using one of the Branching Out Dies to cut out the images. I wrote my journaling onto the stamped panel and added it and the photos to the page. I used the tree dies from the retired Scenic Adventure Dies to cut Mossy Meadow card. I attached the trees to the right hand side of the journaling panel. I don’t often record these days out with Mum but I am glad that I crated this page. Simple, but lovely.
Bye for now,
Kris
Product Used:


Congrats
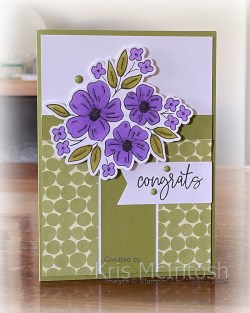
Today I have a card to share using product from the 2026 Virtual Card Retreat. Although this retreat has already been held, but you can still purchase the Retreat and sign up to the exclusive Facebook Group. You will be able to find links to the videos and any additional information you need. I will say that before you start creating, watch the preparation video so that you will have all the pieces cut and ready to go. For my card today I added two pieces of Designer Series Paper and one piece of Old Olive Two-Tone paper from the Retreat across the bottom of Basic White card.
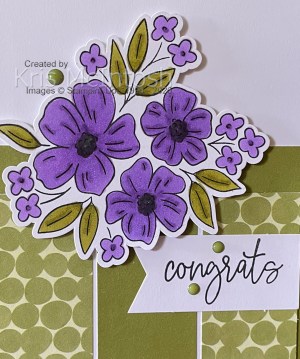
I also added a strip of Old Olive Two-Tone paper across the top of the Designer Series Paper. I used one of the die cuts in the Retreat to stamp the floral image from the exclusive 2026 Virtual Card Making Retreat stamp set using Memento Tuxedo Black ink. I coloured the image using Highland Heather and Old Olive Stampin’ Blends. I attached floral image to the card front using dimensionals.
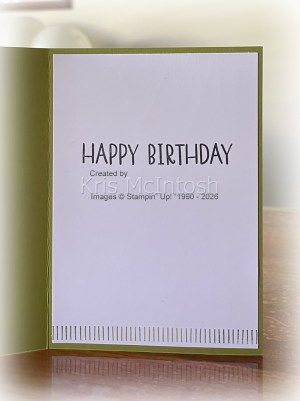
I stamped “congrats” from the Retreat stamp set onto one of the die cut banners using Memento Tuxedo Black ink which I attached below the floral image. I also added three Old Olive Moody Palette Glossy Dots to the card front. To decorate the inside of the card I stamped the lined border image from the Retreat stamp set across the bottom of Basic White card using Old Olive ink. I also stamped “happy birthday” from the Retreat stamp set using Memento Tuxedo Black ink. So happy with this card and so glad I didn’t have to do any fussy cutting for the floral image. I am slowly getting through the remaining pieces from the Virtual Retreat.
Bye for now,
Kris
Product Used:
You can view the 2026 Virtual Card Making Retreat here in my online store.


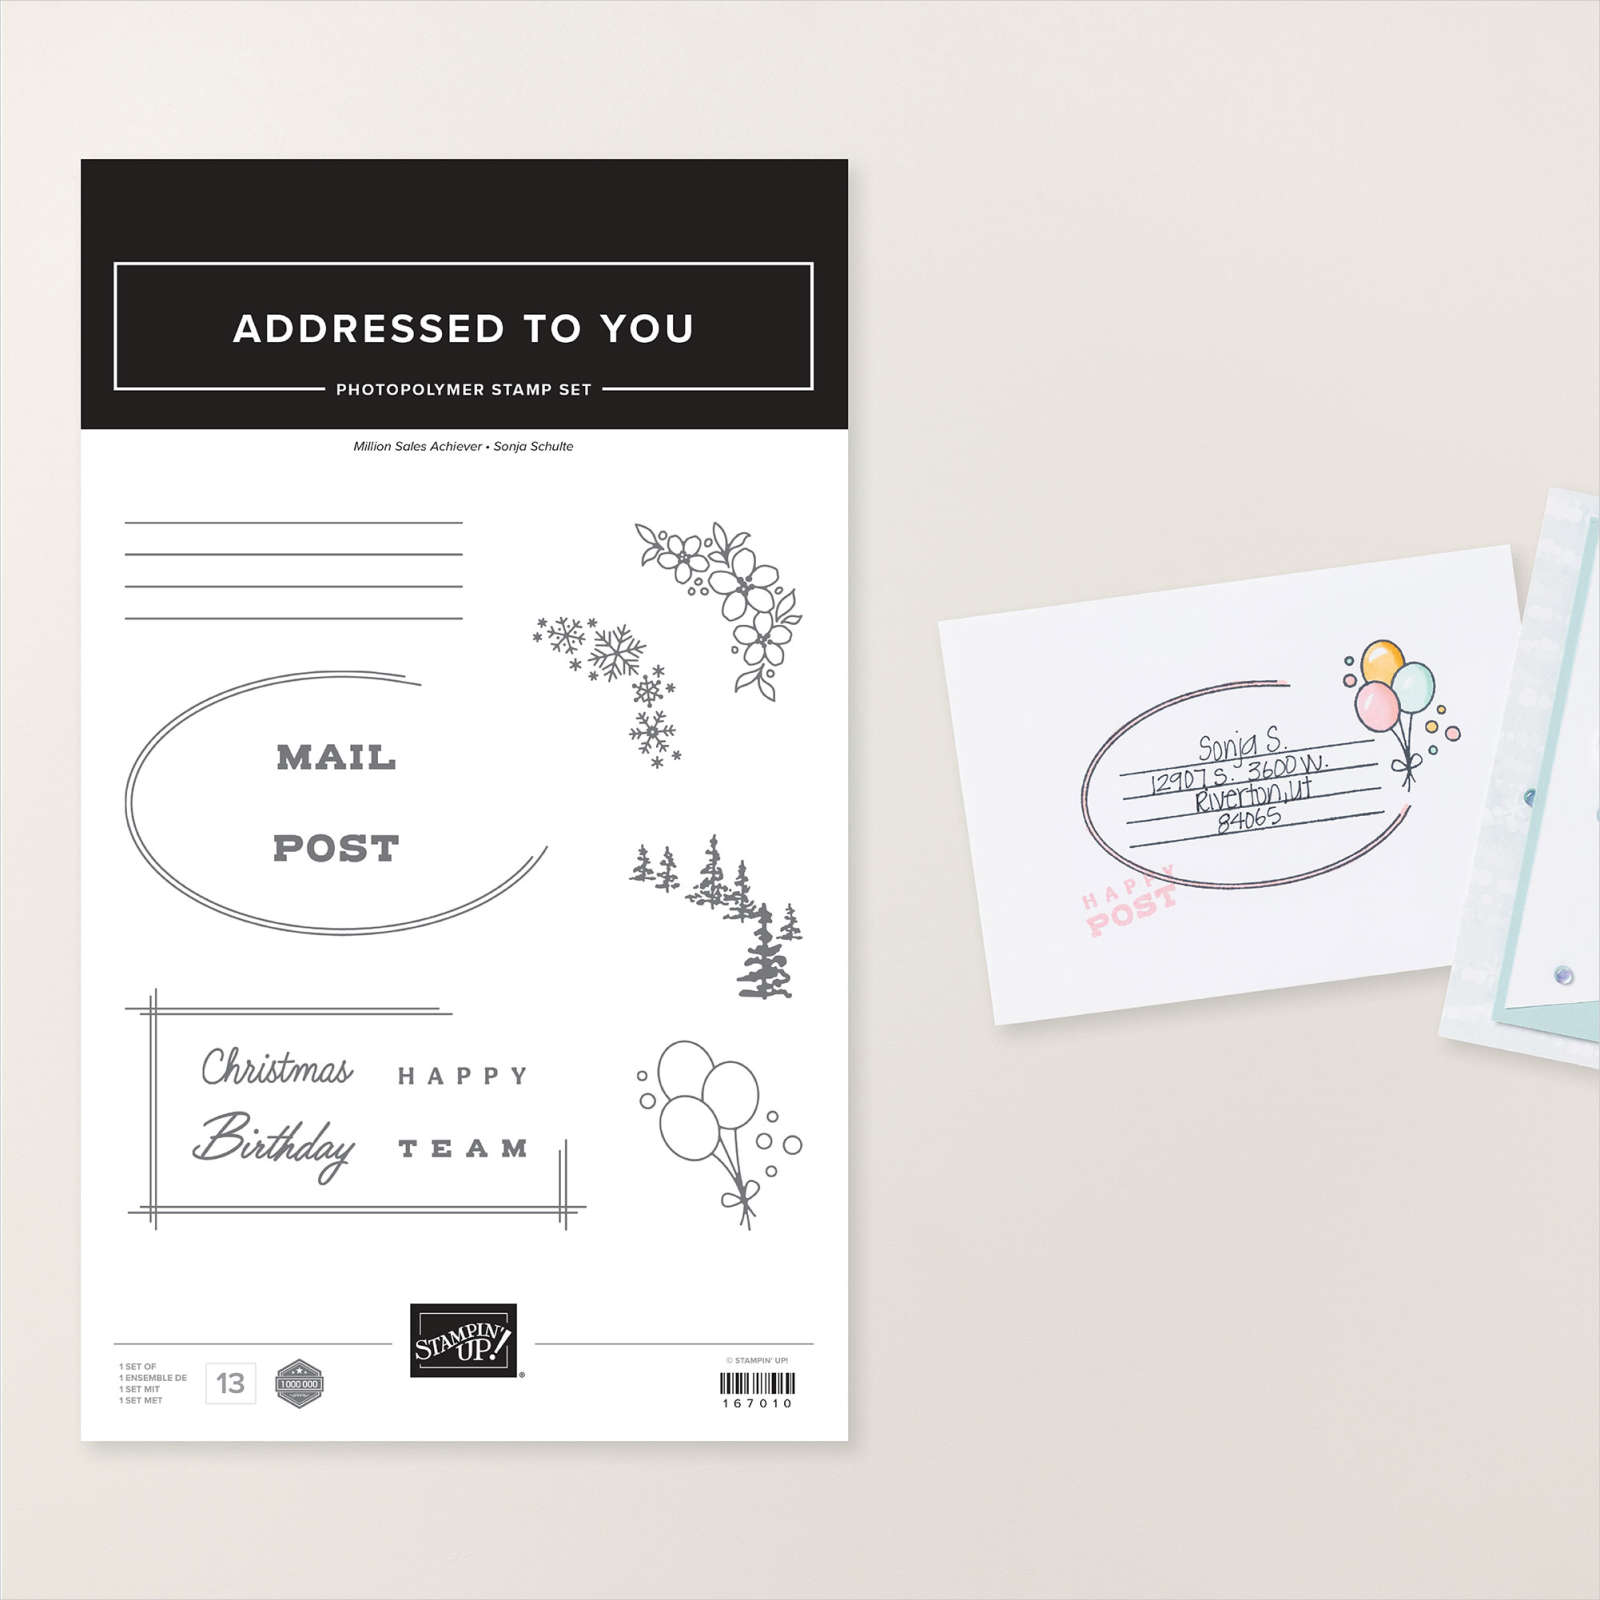
Addressed to You
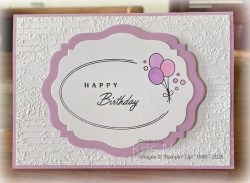
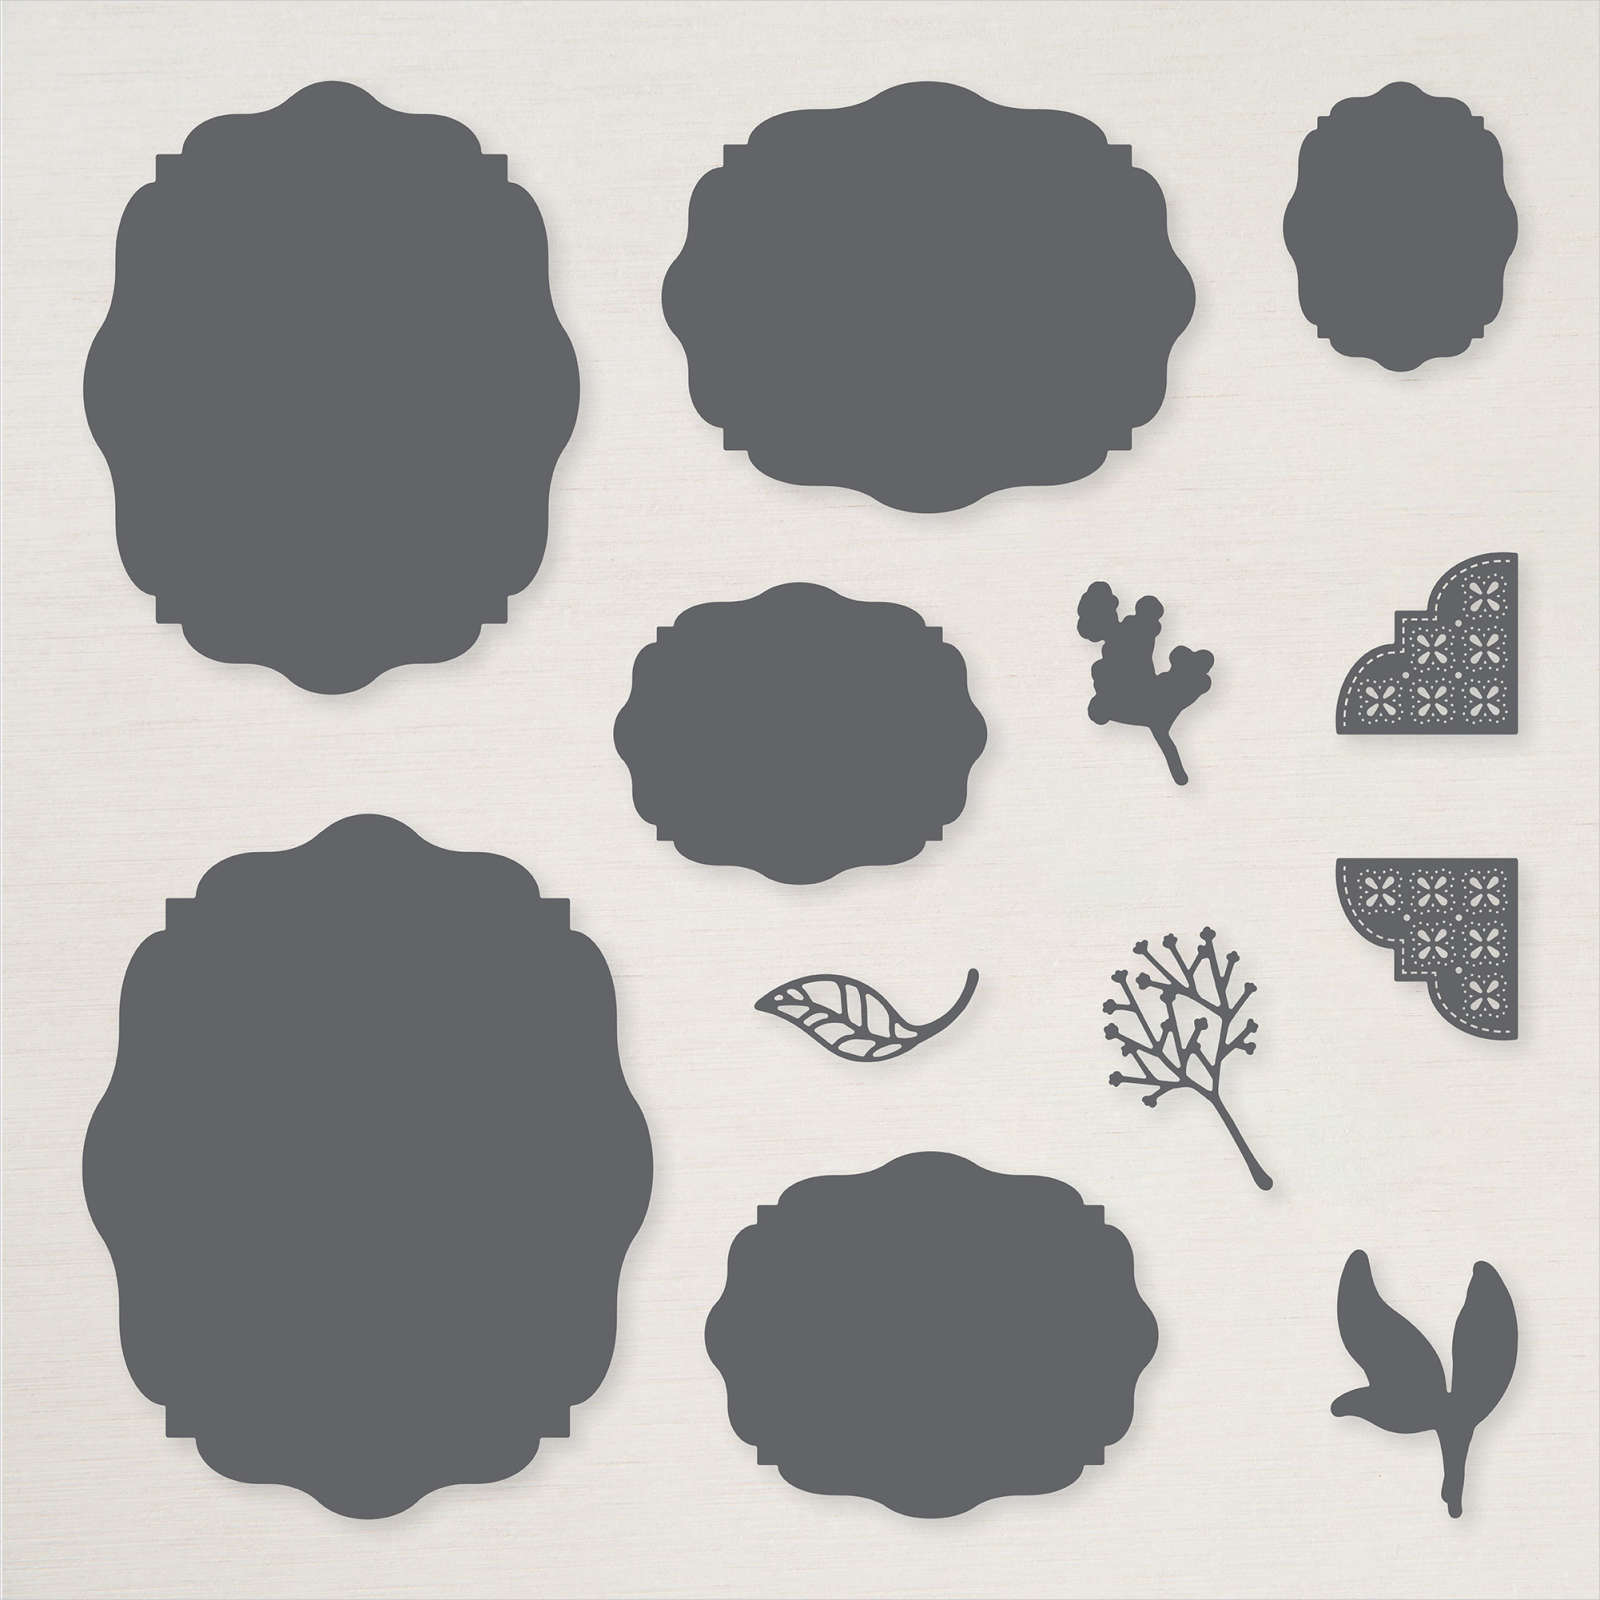
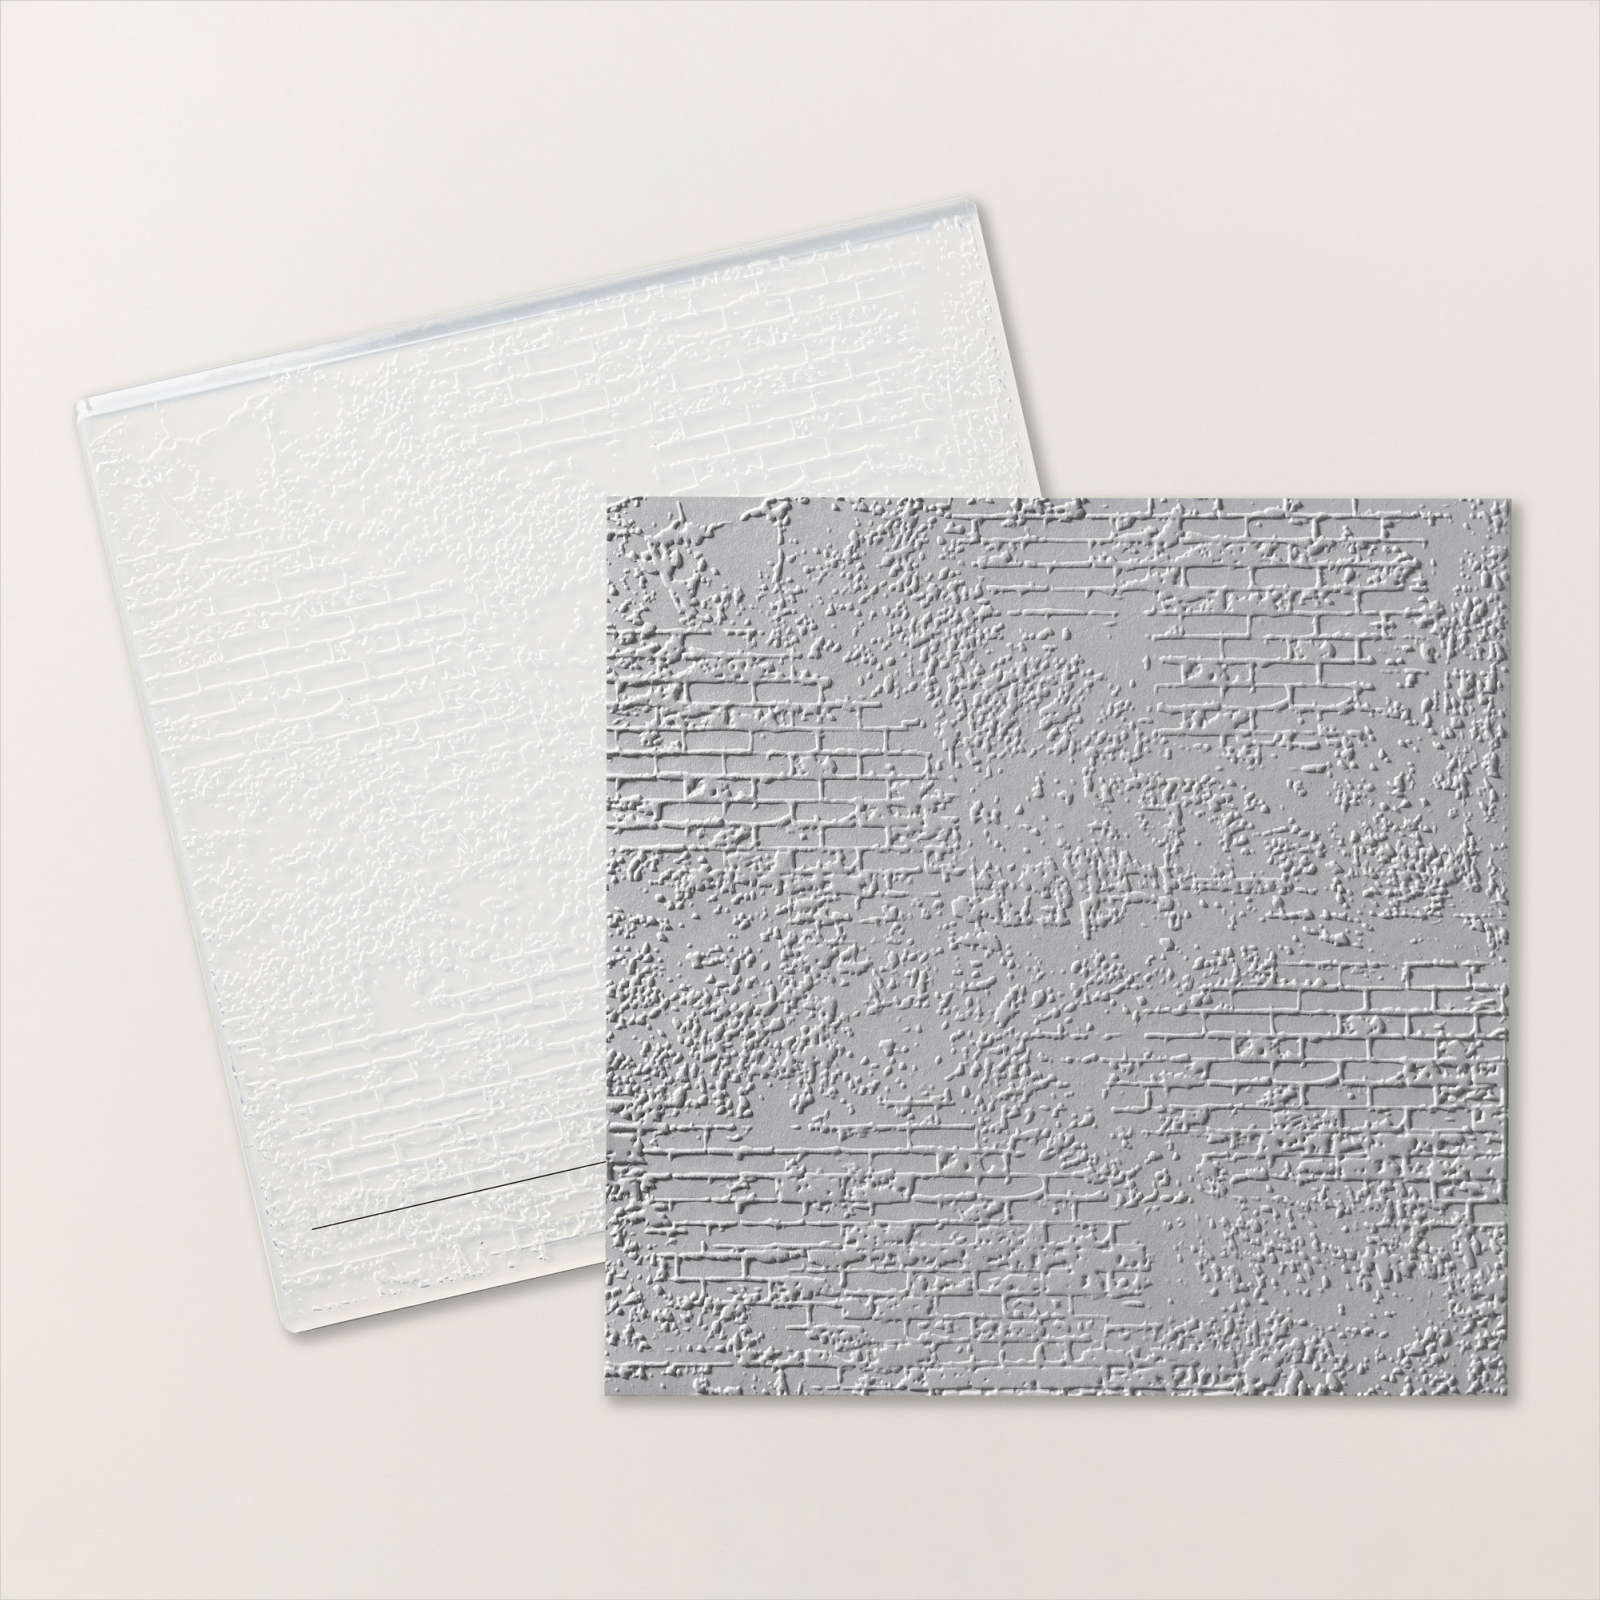
Today I have a couple of cards to share with you created using the Addressed to You stamp set which is part of the 2026 January to April Mini Catalogue. I embossed Basic White card using the Exposed Brick 3D Embossing Folder and attached it to scored and folded Fresh Freesia card. I cut Fresh Freesia card using one of the dies from the Beautifully Created Dies and attached it to the card front using dimensionals.
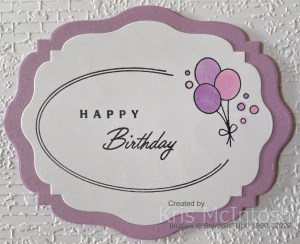
I stamped the oval shaped image from the Addressed to You stamp set onto Basic White card using Memento Tuxedo Black ink. I stamped the balloon image from the same stamp set into the space on the oval also using Memento Tuxedo Black ink. I also stamped the “happy” and “birthday” greetings from the Addressed to You stamp set using Memento Tuxedo Black ink.

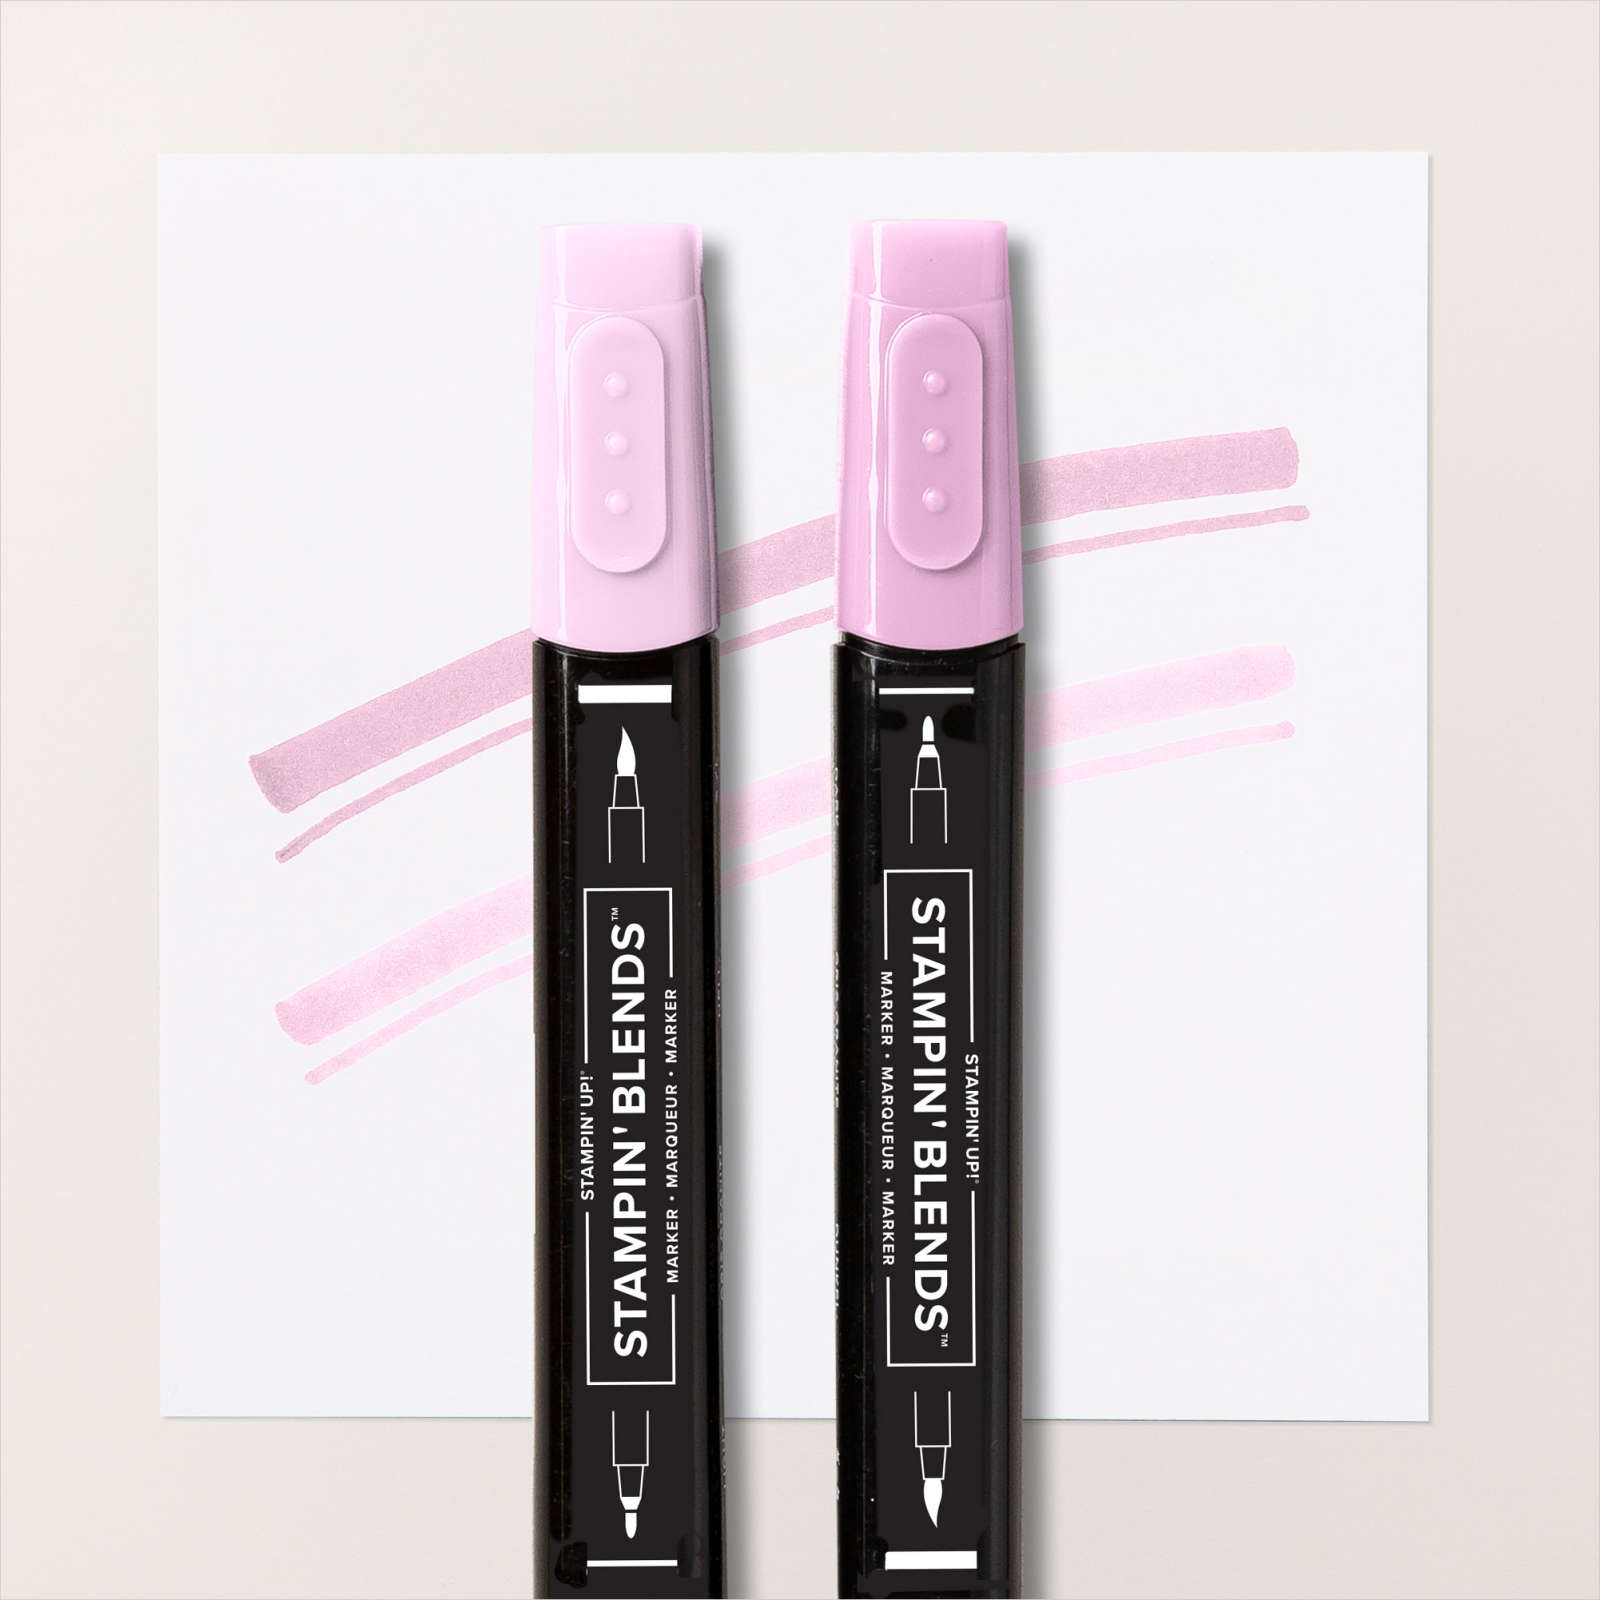
I coloured the balloons using Fresh Freesia and Bubble Bath Stampin’ Blends. I cut out the image using a slightly smaller die from the Beautifully Created Dies. To decorate the inside of the card I stamped the greeting from The Right Words stamp set onto Basic White card using Memento Tuxedo Black ink. I stamped the balloon image next to the greeting using Memento Tuxedo Black ink. The image is also coloured using the Fresh Freesia and Bubble Bath Stampin’ Blends.
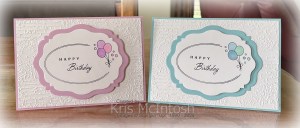
I loved the way this card turned out so I had to create another card this time using Balmy Blue card and Balmy Blue and Pool Party Stampin’ Blends. Don’t they look great and really simple to create. I’d love to hear what you think.
Bye for now,
Kris
Product Used:


Special Birthday Celebration
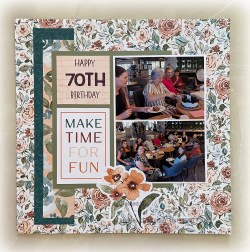
Today’s pages show off some photos from my recent “0” birthday. I used the second layout from the Lovely Florals Scrapbook Workshop Kit. I have had these pages ready for a long time just needed to find the photos to suit the.
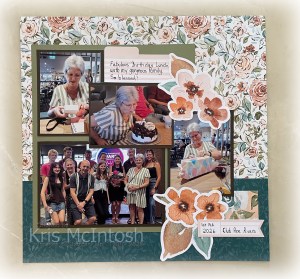
I didn’t change much on the layout, except I did use some of the left over Designer Series Paper to cut “70th” using the retired Playful Alphabet Dies. The “happy” and “birthday” are stamped with Blackberry ink using the greeting from the 2026 Virtual Cardmaking Retreat stamp set.
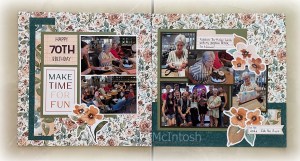
It is so much easier to get my photos onto pages when I have lots of ready created base pages. What do you think? Do you do this too.
Bye for now,
Kris
Product Used:
You can view the 2026 Virtual Card Making Retreat here in my online store.

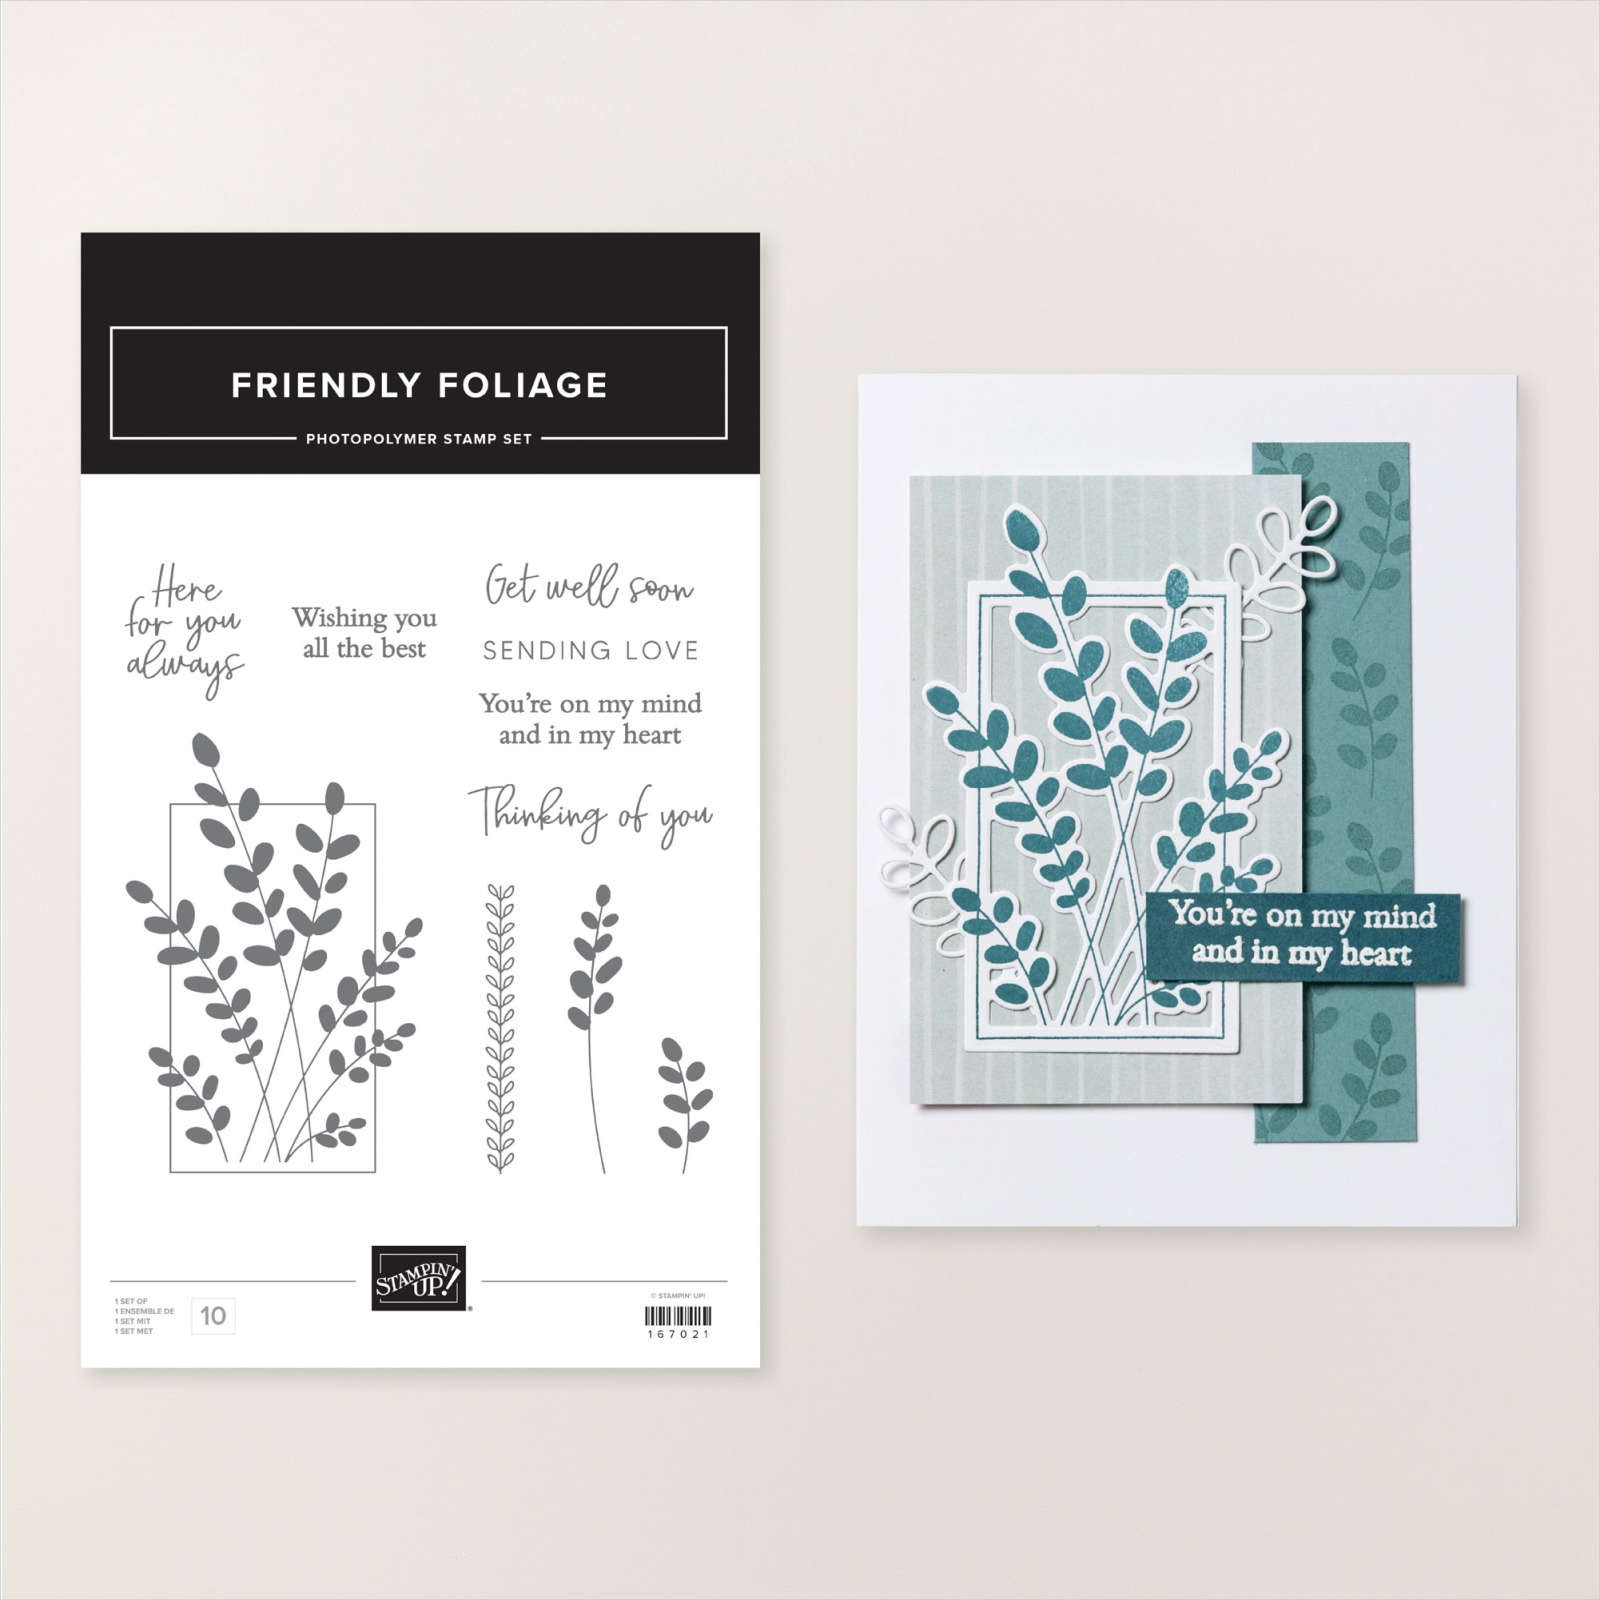
You’re on my mind
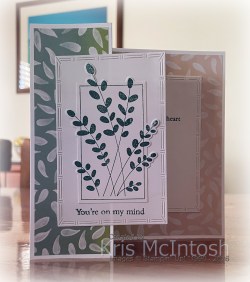
and in my heart. This week in my Facebook Live I shared some cards I created using the Painted Illusions 12″ x 12″ Designer Series Paper which is the February Product of the Month. You can purchase the Product of the Month for $9.00 when you place an order of $125.00 or more. However, you can only purchase one of each Product of the Month. However, if you place an order in February & you haven’t purchased the December or January Product of the Month and they are still available you can select one of them. For my card base I used Thick Basic White which I scored with a flap on the front.
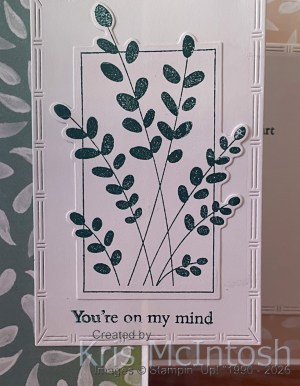
I cut pieces of the Painted Illusions Designer Series Paper so that they would run across the scored card base. I cut Basic White card twice using one of the Textured Notes Dies (last chance). I inked the “You’re on my mind” section of one of the stamps from the Friendly Foliage stamp set using Pretty Peacock ink and stamped it onto the bottom of one of the Basic White rectangles.
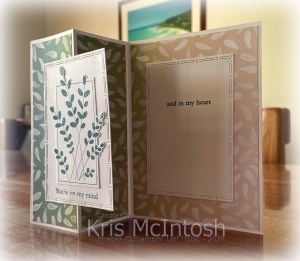
I stamped the large leaf image from the Friendly Foliage stamp set onto Basic White card using Pretty Peacock ink and cut it out using the co-ordinating Friendly Foliage Die. I attached the leaf image onto the stamped Basic White rectangle and attached it to the card front. I inked with Pretty Peacock ink “and in my heart” section of the same stamp used on the card front from the Friendly Foliage stamp set and stamped it onto the remaining Basic White rectangle. I attached this stamped panel to the inside of the card, making sure that when closed it sits behind the rectangle on the front of the card. This paper is gorgeous and can be used with any stamp set or dies you may have in your stash. Can’t wait to see what the March Product of the Month will be. What about you? Are you loving these beautiful products that Stampin’ Up! is offering monthly?
Bye for now,
Kris
Product Used: